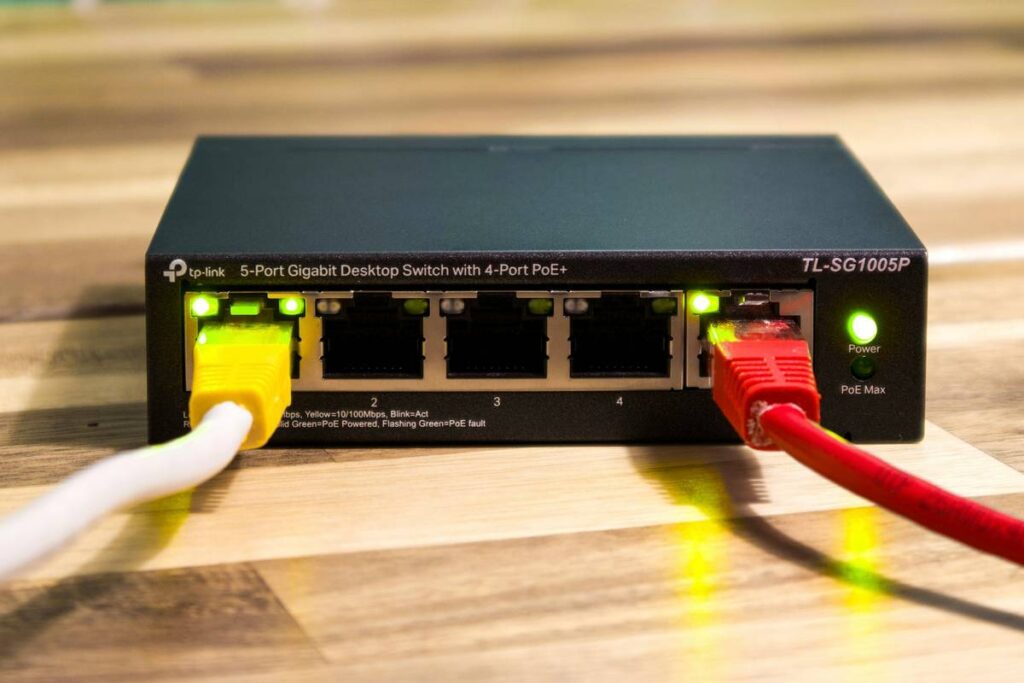
Your network is bleeding data—and you don’t even know it. Firewalls tick along like clockwork, endpoint tools chirp “all clear,” yet breaches slip through when admins least expect. The problem? Most defenses lack a true emergency cutoff. Enter the kill switch: your digital circuit breaker. This network security kill switch guide shows you how to deploy one that actually works—without turning your entire infrastructure into a brick.
Why Your Current “Kill Switch” Isn’t Cutting It
You’ve probably toggled airplane mode or unplugged a cable in a panic. That’s not a kill switch—it’s theater. Real threat actors pivot faster than you can yank an Ethernet cord. And scripted shutdowns? They often leave residual tunnels wide open. Default OS-level disconnection routines rarely touch background processes or encrypted DNS-over-HTTPS channels. So traffic leaks continue, silently.
Here’s the reality: if your method doesn’t sever *all* outbound routes—including virtual interfaces, containers, and tunneled protocols—you’re still exposed. And most tutorials ignore this nuance entirely.
network security kill switch guide: A Practical Buildout
Forget theoretical models. Below is a field-tested sequence you can implement today on Linux-based gateways (the same logic applies—with tweaks—to pfSense, OPNsense, or hardened Windows Server cores).
Step 1: Map All Egress Points
List every possible exit path: physical NICs, VM bridges, Docker networks, WireGuard peers, even USB tethering. Use ip route show table all and ss -tuln. Miss one? You’ve got a leak.
Step 2: Script Atomic Disconnection
Write a bash script that flushes NAT tables, drops default routes, and kills persistent daemons in one atomic transaction. Example:
#!/bin/bash
iptables -P OUTPUT DROP
ip route flush table main
systemctl stop --no-block systemd-resolved NetworkManager
echo "KILL SWITCH ENGAGED" > /var/log/killswitch.log
Test it in staging. Then test it again.
Step 3: Trigger Mechanism
Manual execution isn’t enough. Wire the script to hardware buttons, Slack webhooks, or anomaly thresholds from Zeek/Suricata logs. Speed matters more than elegance here.

Tool Comparison: Open Source vs. Hardware Approaches
| Method | Setup Time | Cost | Reliability | Recovery Speed |
|---|---|---|---|---|
| Iptables + Custom Script | 1–2 hours | $0 | High (if tested) | Seconds |
| Dedicated Hardware Relay | 30 mins | $85–$200 | Very High | Sub-second |
| Cloud Provider VPC Isolation | 15 mins | $0 (but egress fees apply) | Moderate (API latency risks) | 1–3 minutes |

The Industry Secret: Kill Switches Are Useless Without Verification
Most teams deploy a kill switch—and assume it works. Big mistake. Here’s the unspoken truth: you must verify disconnection in real time. I once audited a fintech startup whose “air-gapped” response protocol still allowed outbound NTP sync over IPv6 link-local. Their kill switch looked perfect on paper. In practice? A ghost tunnel remained.
Build in post-trigger validation: send synthetic packets to external canaries (e.g., Cloudflare’s 1.1.1.1) immediately after activation. If any reply arrives—even one—you’ve got a flaw. Log results. Alert if verification fails. Without this loop, your kill switch is just placebo security.
Frequently Asked Questions
Can a network security kill switch prevent ransomware?
Not directly—but it limits lateral movement by cutting command-and-control channels fast. Think of it as damage control, not prevention.
Does this work on home Wi-Fi routers?
Most consumer routers lack granular control. You’d need custom firmware like OpenWrt to implement true packet-level cutoffs.
Is automation safe for kill switches?
Only with human-in-the-loop confirmation or tightly scoped triggers. False positives can cripple operations—test thresholds rigorously.